RM Stator RMS900-108297 2000-2007 Honda XR650R Three Phase 250W DC Charging Kit
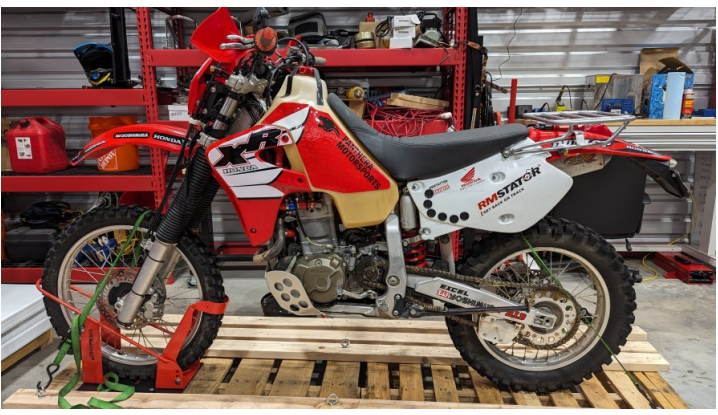
This kit is designed to convert the Honda XR650R charging system to a true three phase 250W output intended to charge a battery for power electrical accessories such as lights, heated gear, radiator fan, GPS/ gauges, and more. It currently includes the stator and voltage regulator rectifier. In the future when available, it will include a CDI box as well.
Note that this kit requires custom installation. You must install and mount a battery, DC CDI box, voltage regulator, and wire accordingly.
We recommend using the ETZ5G lithium battery from EarthX: https://earthxbatteries.com/product/etz5g-lithium-battery-replacement-dirt-bike/
Step 1: Remove seat, side panels, and skid plate. Unplug and remove original AC voltage regulator and CDI box from top of airbox under seat. Unplug all original stator connectors. The only stator connector that will be reused is the 2-pin plastic pickup coil plug. Remove stator cover from left side of bike, and remove and install new stator. USE RED THREAD LOCKER ON ALL STATOR MOUNTING BOLTS.

Route stator wiring along original path. Plug in mating stator pickup coil connector. All other original stator wires can be tied up and kept in rubber boot, they are unused.

Step 2: Determine mounting location for voltage regulator rectifier. It is sealed and waterproof, and can be mounted anywhere on the motorcycle. Example shown is mounted to luggage rack on top of rear fender Route stator harness with grey connector to regulator, and plug in. You may need to separate the pickup coil wiring from stator wire loom to route separately.

Step 3: Mount battery on motorcycle. If using the recommended EarthX battery, it fits well under the seat. Using the included black connector and terminals with the regulator, run wire from Regulator + (inner terminal) and Regulator—(outer terminal) directly to the battery terminals. This completes your charging system connections.

Step 4: Install DC CDI box. Photos show installation under seat as well. It is tight, but will fit along with battery. CDI plugs directly into factory wiring CDI connector. Both Ignitech or RMSTATOR CDI will have a separate RED wire that must be connected to switched +12V to power ignition. Recommend adding a dual sport kit with keyswitch kill/battery circuit, and using this to control the CDI red wire. Do NOT leave this wire permanently connected to battery +12V, as it will lead to premature failure of CDI box.
Ignitech DCCDIP from Spectrum Moto example:

RMSTATOR DC CDI box example:

Reinstall parts, and go ride! You now have a 3-phase, full DC charging system. Not only do you get increase output at low RPMs, you get increased output at ALL RPMs. Note that all lighting, dual sport kits, fans, heated grips, accessories, etc must be powered from battery. We recommend powering everything from a dual sport harness with a key switch for easy control of your accessories from the battery.

Comments